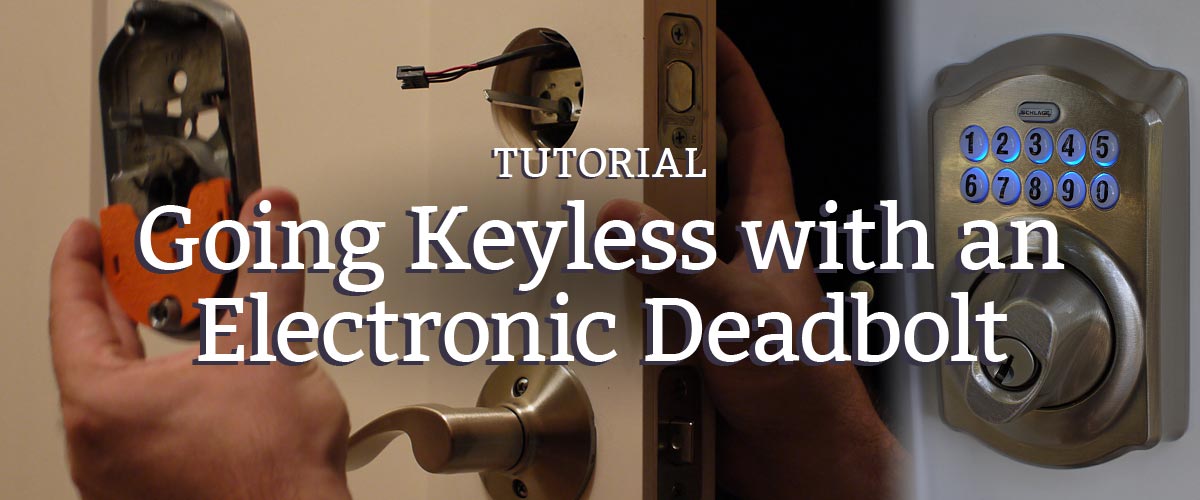
Have you ever wanted to leave the house without bringing your keys? Hate fumbling with your key ring in the dark while people stand impatiently behind you, waiting for you to open the door? Ever found yourself locked out?
You should consider going keyless with an electronic deadbolt. I just installed one on my front door and I love it! Follow along as I show you how to pick the right deadbolt for you and how easy it is to install.
Selecting an Electronic Deadbolt
There are a bunch of options out there right now. From simple keypad deadbolts to full handleset kits with touchscreens and Z-Wave technology. Whether you want to upgrade or start from scratch, there’s an option for you.
The cost is considerable, but well worth it. You can spend as little as $60 and as much as $400+ for all the bells and whistles. Here are some of the popular options currently:
How to Install an Electronic Deadbolt
Whether you’re staring with a new door or an existing entryway, installing a keyless deadbolt is quite simple. Aside from the batteries and buttons, it’s more or less just a bigger, beefier deadbolt for your door. So this should be a piece of cake.

We just got a new, fiberglass door to replace the 1970’s, solid wood disaster that used to be our front door. It would have been a crime to reuse the old doorknob so we chose to go for it and finally get an upgrade.
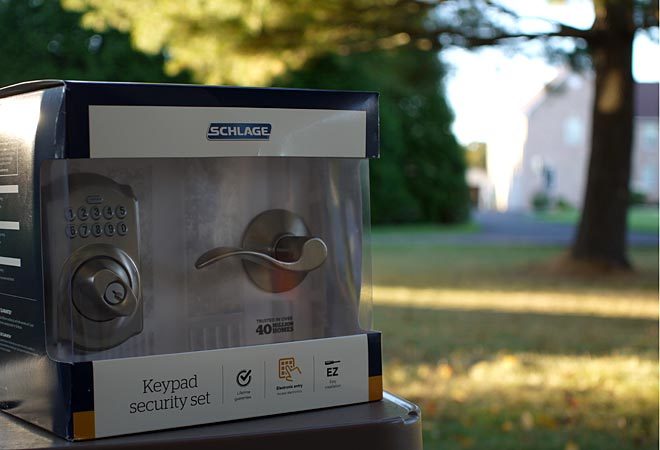
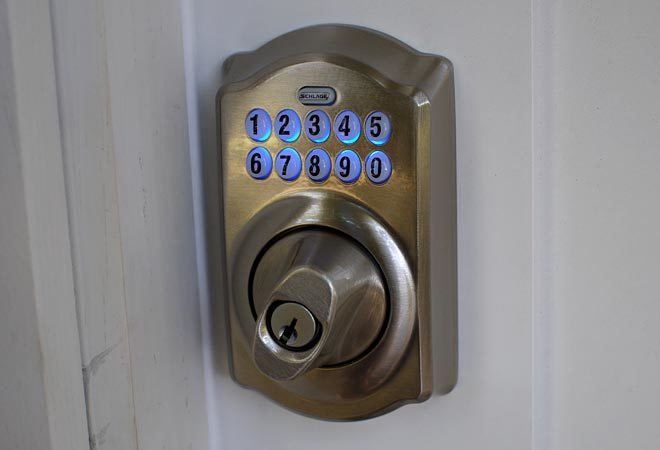
After considering all the options (and price points), I finally landed on the Schlage Camelot keypad and lever combo in satin nickel. If I wasn’t changing the handle, just the deadbolt from this combo is available as well.
I chose Schlage because for just a bit more money I was getting a much higher-rated lock than the more common Kwikset brand. I definitely recommend going with quality and security if possible. For me, it was worth the slightly higher cost for the added peace of mind.
Unbox the New Hardware
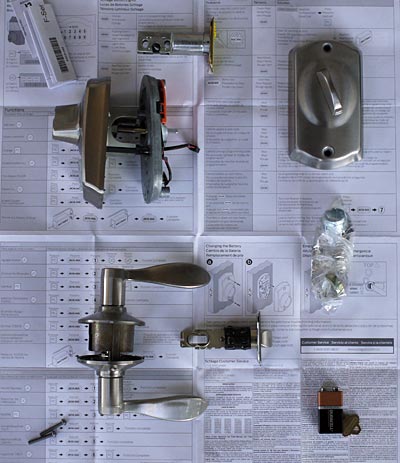
Your kit should include a full set of instructions, the deadbolt components, all strikeplates and screws needed, a template for drilling holes, and the handleset if your kit came with one. Mine also came with a battery and of course the key (which you should keep somewhere safe).
It’s the instructions that left me with a single criticism of Schlage. My entire experience with this kit was fantastic and I love my new electronic deadbolt. But the instructions were awful. I think they spent more time trying to translate the instructions into other languages and get it to all fit on one sheet than actually make the instructions useful.
They were hard to follow, left huge, critical pieces of information up to basic drawings, and contradicted themselves multiple times. Fortunately for you, this tutorial isn’t awful and if you do have any questions, leave them in the comments below and I’ll update the post to make it easier to follow.
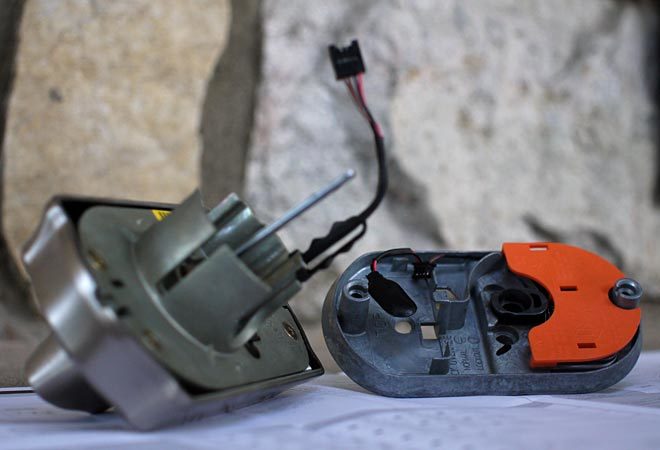
The heft of these deadbolt components really surprised me. Going into this, I was definitely concerned about how much more of a front plate was exposed to an attacker. I thought that maybe it would simply give them more surface area to pry on and potentially rip off the door. But after unpacking the box, all my concerns were gone. This Schlage deadbolt is really sturdy and even has the option to drill additional holes through the door to screw the front and back components together in extra locations.
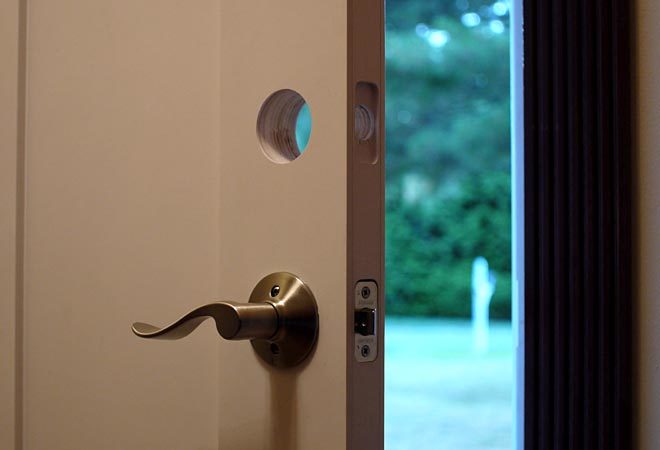
Prepare the Door
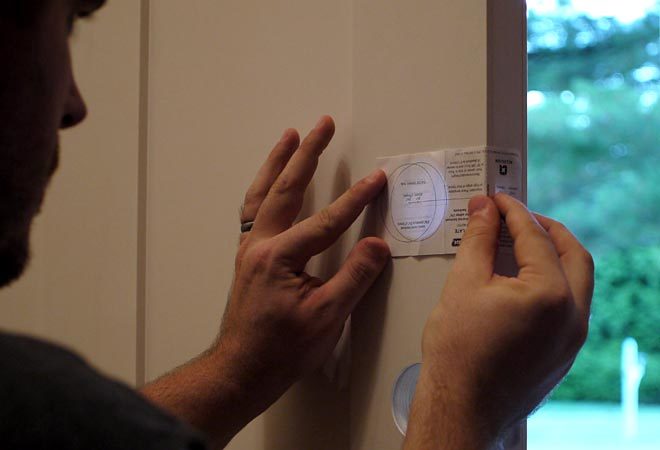
Using the template provided, I checked the spacing of the holes in my door. There are two common positions and the bolt can be adjusted to fit either one. If you have a door without holes in it, you’ll use this template to mark and drill the holes in the right place.
If you’re replacing your existing deadbolt, remove it now. I also recommend installing the handle or knob in the lower hole now so you have something to hold onto while drilling and screwing in the coming steps.
As you can see here, I installed the handle as it came oriented in the box. It’s set up for a left-hand door so I need to reverse them. I show how to flip lever handles in this follow-up post.
Install the Bolt
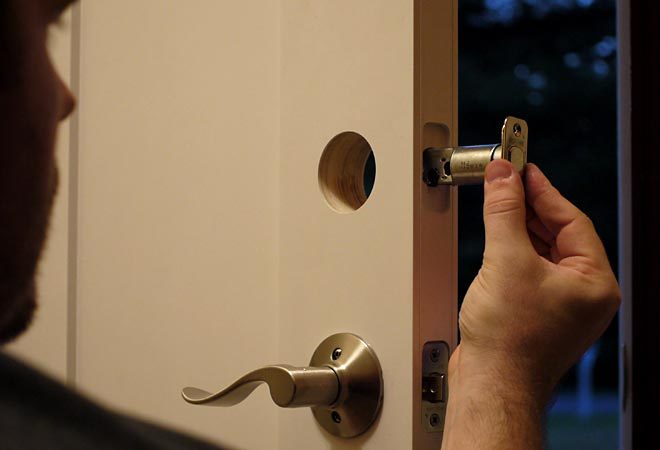
Here I pressed the bolt component into the side hole of the door. Check your instructions for proper orientation because it will not work upside down.
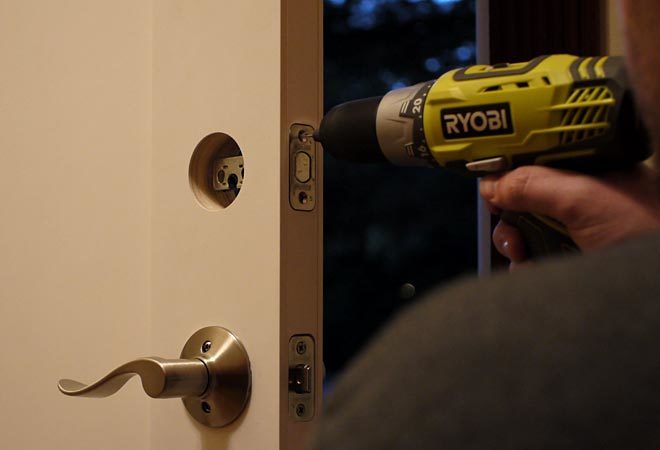
I pre-drilled the screw holes for the bolt plate and I recommend you do the same. You don’t want to spit the wood here. If you are replacing an existing deadbolt, asses the existing screw holes and consider larger screws if the holes are very loose. You want the deadbolt mounted firmly for obvious reasons.
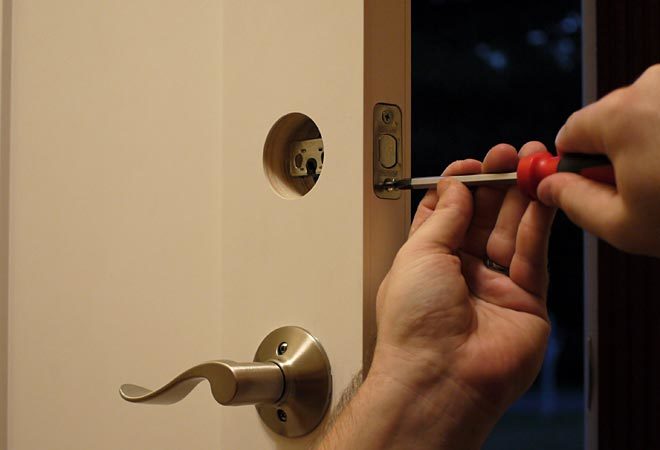
Next you just screw it in with the hardware provided. Hand tight is best; you don’t want to strip it out.
Attach the Electronic Deadbolt Components
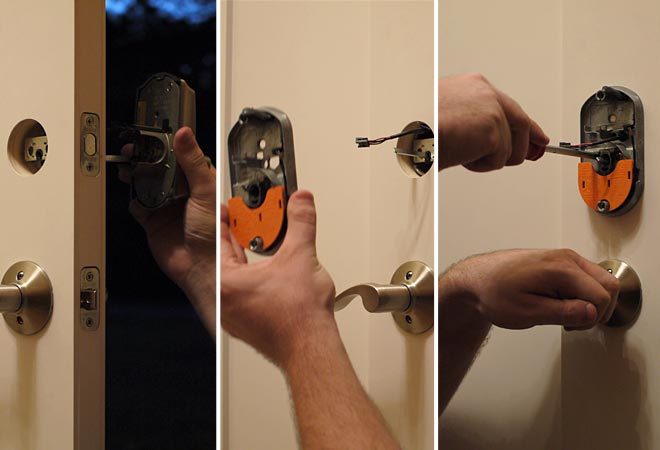
It looks like a lot is going on here, and really that’s true. But basically, you slide the front keypad component into place, making sure to get the stem through the proper hole in the bolt. You’ll also need to route the wiring through the opening.
Then (while holding the keypad in place) you slide the back plate in and align the stem and wiring with the appropriate holes. With the provided screws, attach the back plate to the keypad and tighten firmly.
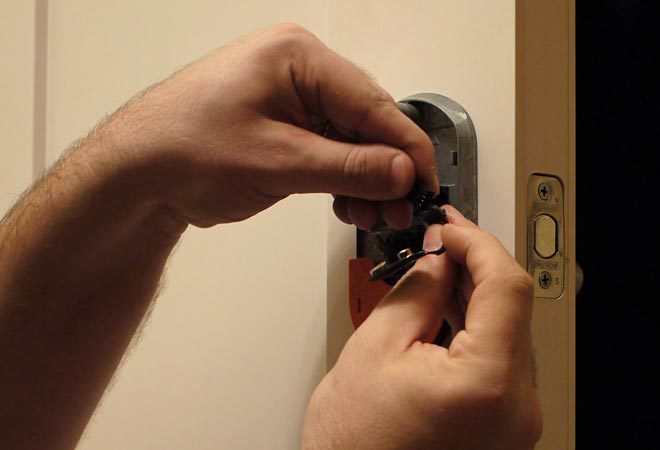
Connect the wiring harnesses together, joining the keypad to the rear mechanism.
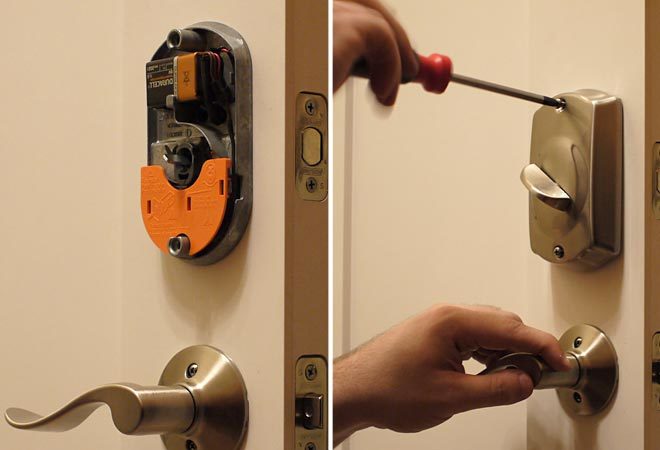
Finally, install the battery and tuck the wiring out of the way. I found this to be difficult but as long as you don’t kink the wires, the back cover will keep everything hidden so it’s okay if the wiring is a little messy.
Install the back cover with the screws provided and your keyless deadbolt is ready to go!
Program the Interface
Now that the deadbolt is completely installed, it’s time to give it a try. Each one comes with a default code, which you’ll find in the instructions. You can choose to use that code or change it to anything you want. BUT DO NOT LOSE IT!
You can also program multiple codes for different people you’d like to give access to. The nice thing about giving everyone a different code is that you can change it or remove it for just one person and not have to give out new codes to everyone else.
Instructions for programming are dependent on the manufacturer and model you installed. So refer to your instructions for how to do it. But generally, you’ll have one programming code to enter and get the process started. Some of the internet-connected deadbolts even let you manage codes from your smartphone.
Final Thoughts
I absolutely love our new front door, how easily it operates, and how simple it is to come and go now that we have an electronic deadbolt. Going keyless is one of the coolest things about technology. Of course I always have a physical key if a problem arises, but should everything run smoothly, we’ll be with one less key in our pocket for a long, long time.
My neighbors think I’m weird now that they see me staring at my front door at night. Seriously, I’ve been outside after dark just standing there a few times this week…
Pros
- One less key needed.
- One less lock (if you get rid of your lockable handleset).
- Programmable entry codes let you give and revoke access to anyone.
- Less vulnerable at night because you’ll be in your house much quicker.
- Internet-connected options allow for tracking door usage.
Cons
- Obviously cost is considerably higher than standard, keyed options.
- You’ll now have another battery to change every year or so, depending on use.
- Motorized, automatic deadbolts use way more power, so expect to go through batteries.
It’s a toss-up, honestly. So whatever you choose will be just fine. Personally, I don’t mind changing batteries once a year to gain the ability to go for a walk with nothing in my pocket.
I also love the idea of locking the door every time I walk outside for a moment, just in case I end up chatting with the neighbor for an hour. You’ve been there, don’t deny it.
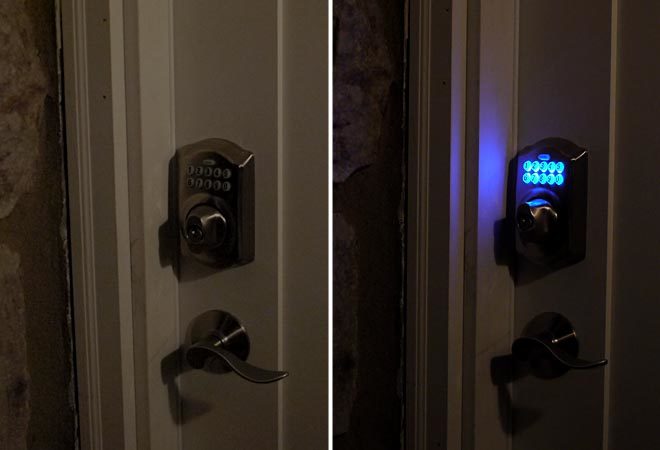
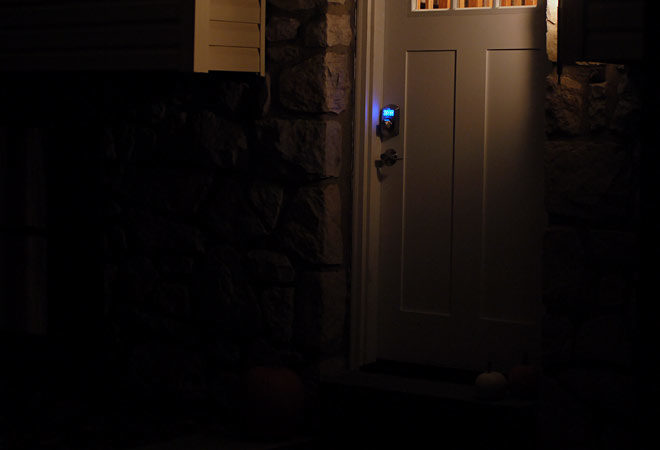
My front door looks really sweet now that it lights up! Plus I can actually see to unlock it if the porch light is off. Such a small thing that makes a big difference.
What do you think?
Is it time to upgrade your exterior doors to a single, keyless lock?
Let me know in the comments if you have any questions. And be sure to offer your own experiences and advice if you’ve already installed an electronic deadbolt in your door.