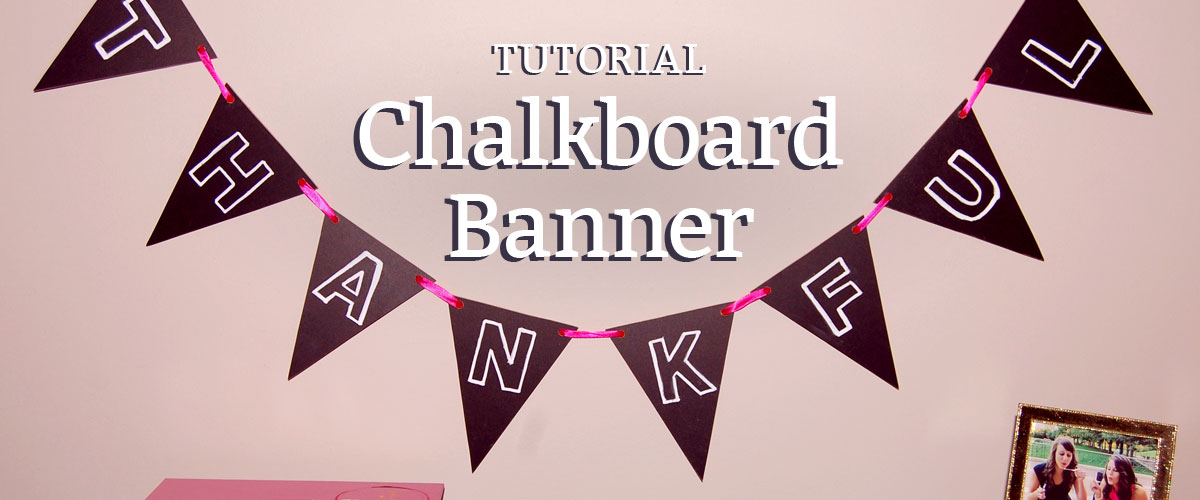
Holiday and seasonal decorations are fantastic and a must for our homes. But what if you could reuse some of them for more than one occasion? Let me show you how to make this customizable chalkboard banner for cheap and reduce your stockpile of home decor items!
For this project, I teamed up with Karly from KPApreps.com. She’s showing you how to decorate and hang the banner here. But first, let’s make the chalkboard banner flags…
Tools & Supplies
Making a chalkboard banner like this one is really quite simple. You have two options for the chalkboard surface: chalkboard panels or chalkboard paint. I highly recommend using the panels because they’re easy to find at your local home store and they are very cheap.
In fact, the 2-foot by 4-foot panel I bought would easily make 3 or more banners and cost less than some chalkboard paints. When you consider that you’ll have to buy and cut the press-board panels either way, it’s a no-brainer to go with the chalkboard panels and skip all the painting and extra cost.
What you’ll need…
- chalkboard panel
- cardboard or paper for templating
- painters tape and/or pen for layout
- knife or scissors
- jigsaw or bandsaw
- drill and drill bits
- sander and sandpaper
The only thing most of you will need to buy for this project is the chalkboard panel. I got mine for less than $10, so this project is up there with some of the most cost-effective ways to decorate your home.

Money-saving tip:
You can see above that the chalkboard panel has some blemishes around the edges. I mentioned this at the register and was given 15% off. I highly recommend you do the same whenever buying materials – and I highly recommend you buy blemished materials to save money whenever you’re going to be cutting them up anyway!
Cutting the chalkboard banner flags
There are a few terms for what we’re making here. The type of banner we’re making is called bunting. You can refer to the banner or the individual flags as bunting, so it gets confusing. From now on, I’m going to refer to these as flags to keep things simple.
See also: DIY Pallet Wood Bunting
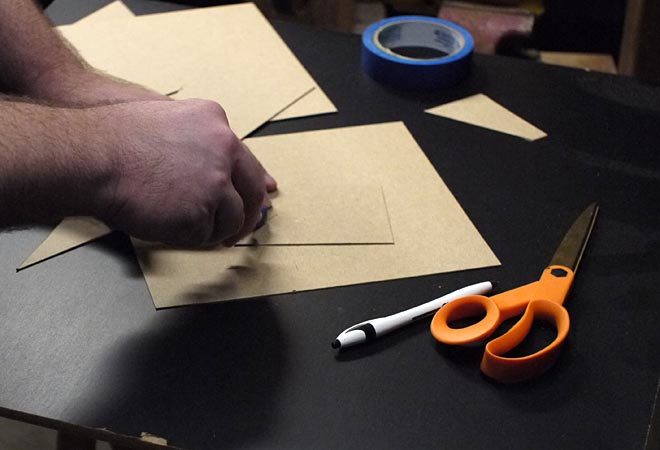
I started by cutting out different shapes in cardboard to get a feel for what the right size and shape would be for my banner. You can go crazy here trying to get the perfect look. But don’t worry about it, because if you waste paper or cardboard, you’re not wasting your chalkboard!
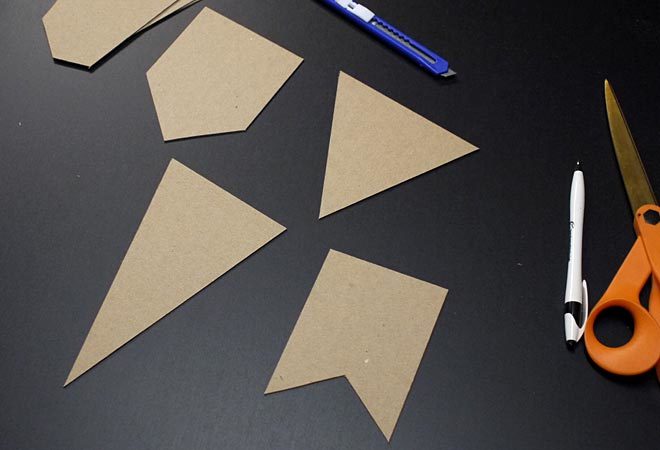
The banner that Karly is making will need triangle flags. So I used a triangle template to mark my cuts. You can see that there are plenty of shapes to choose from and any abstract shape would work as well.
Hearts for Valentine’s Day, presents for birthdays, or stockings for Christmas… so many fun ideas!
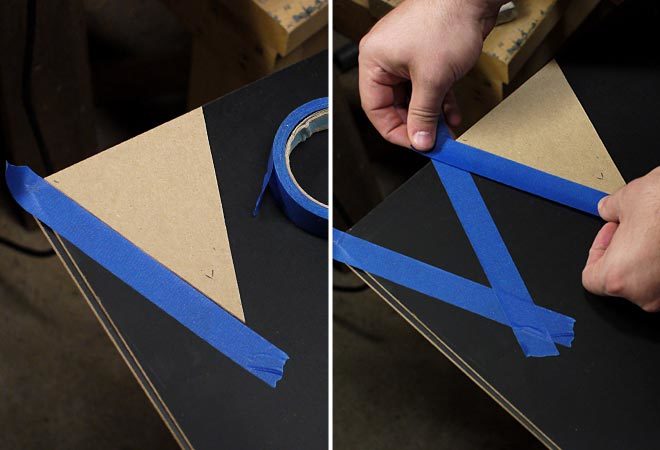
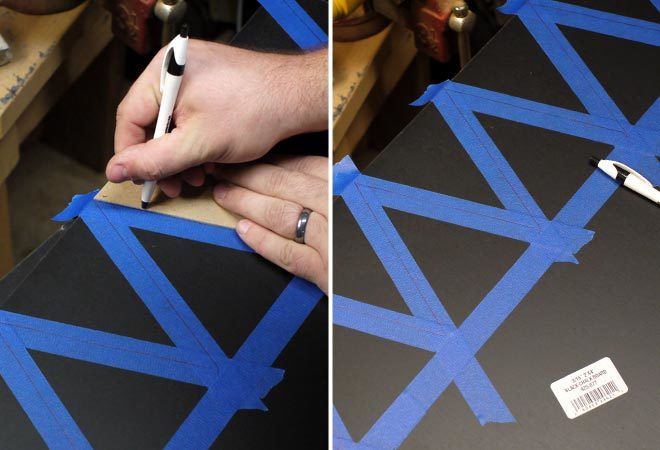
Originally I didn’t want to write on the chalkboard surface, so I opted to use painters tape instead and then trace the template onto it. For my second set of flags, I skipped this entirely. I found it added a lot of time and didn’t help much. The marked line is going to be cut through, so chances are you won’t see any pen marks on the final pieces anyway.
Using a wider tape and covering the entire surface might make more sense. It would certainly save a lot of time.
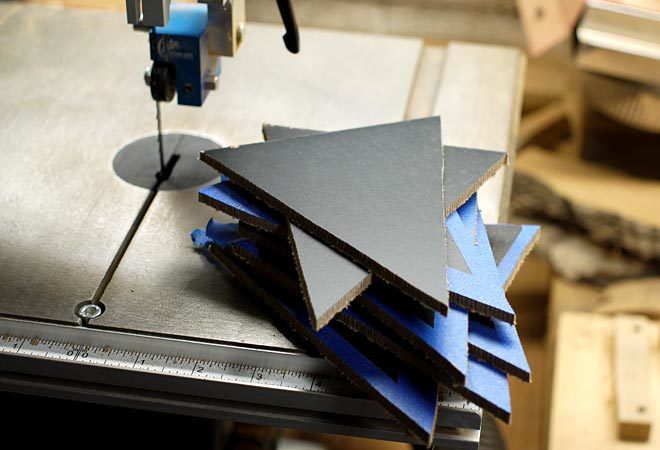
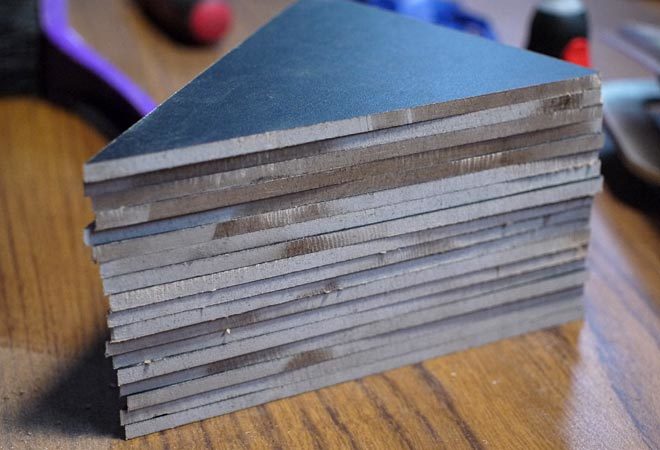
Triangles are a great shape for efficiency and reducing waste. You can see here that once I cut the long rectangle, I will have alternating triangles to cut. There were only two small pieces wasted this way and I love that.
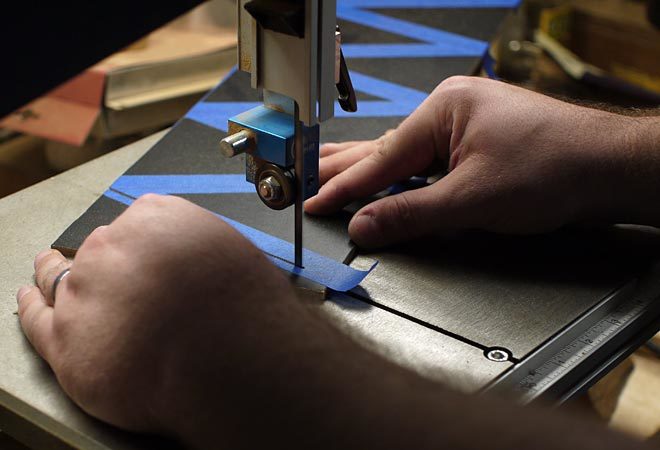
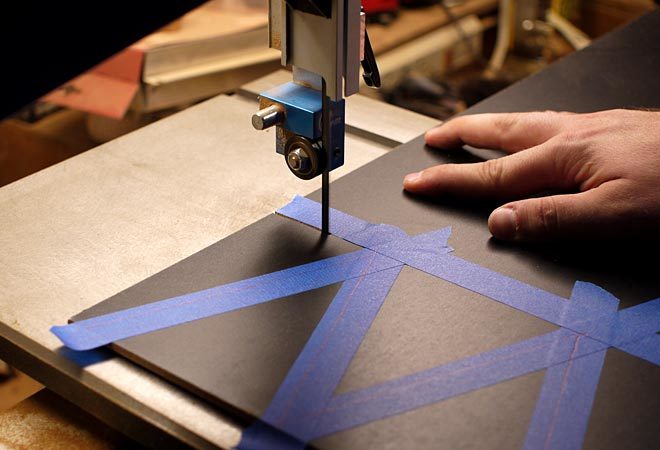
A bandsaw really makes this process quick and easy. However, if you have a jigsaw, you can get the same results with a little patience. I recommend sanding the sides flat anyway, so there’s no need to worry if your cuts aren’t perfectly straight.
My first batch of flags were cut using tape and my second without. After I removed the leftover tape, I couldn’t tell the difference. So whichever way you go will be just fine.
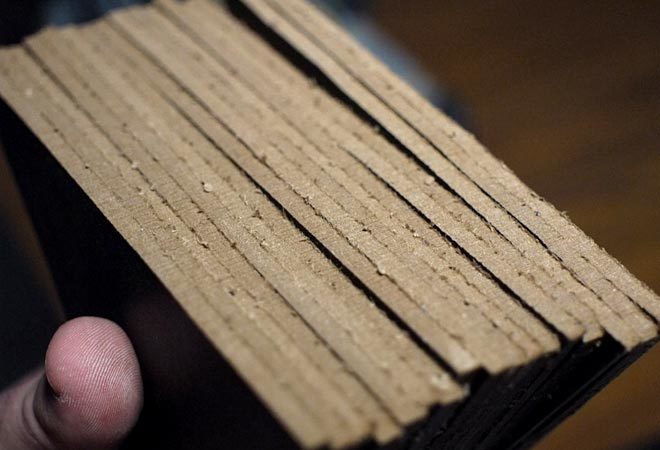
Here are the sides of the flags straight off the bandsaw. You can see the rough cut marks and texture. If you want to keep that, more power to you!
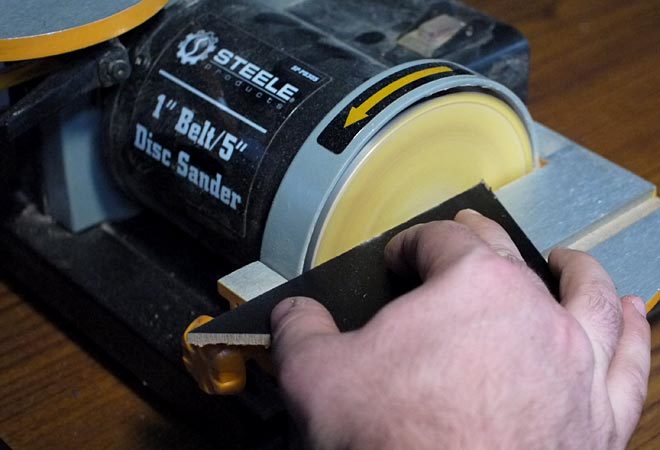
I opted to sand them down and get a much cleaner look. You can use a disc sander to make this easy or a sanding block and some elbow grease will work too.
After sanding the edges, the flags looked much cleaner. You could choose to paint them black and hide the wood color entirely. Again, it’s all up to the look you’re after.
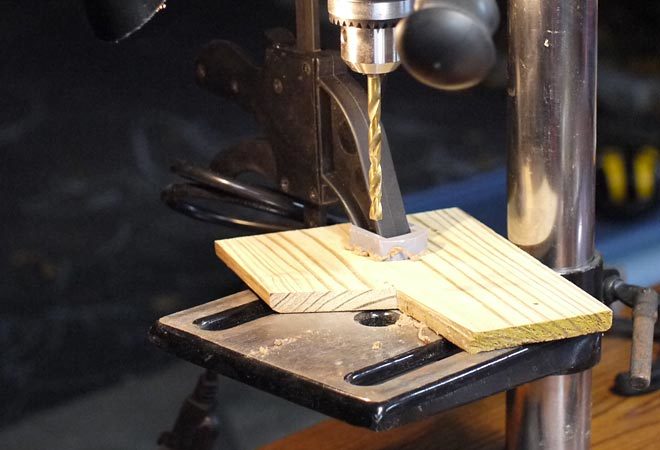
I used a drill press to get very clean, consistent holes for hanging my banner flags. What you see here is a jig I made from a piece of scrap wood with a notch in it.
I can reference each of my flags against the inside of the notch and cut the hole exact each time. They will always be accurate because I have the jig clamped down.
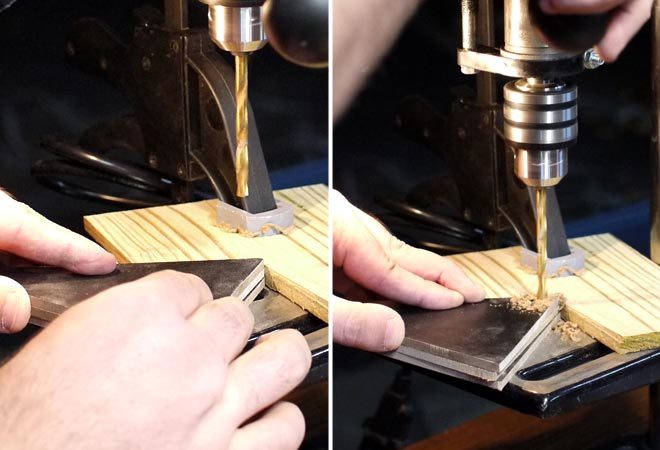
I stacked three at a time while drilling to make it go much faster.
To get the holes in the same spot in both corners, I had to flip the flags over. The left hole is drilled right side up and the right hole upside down.
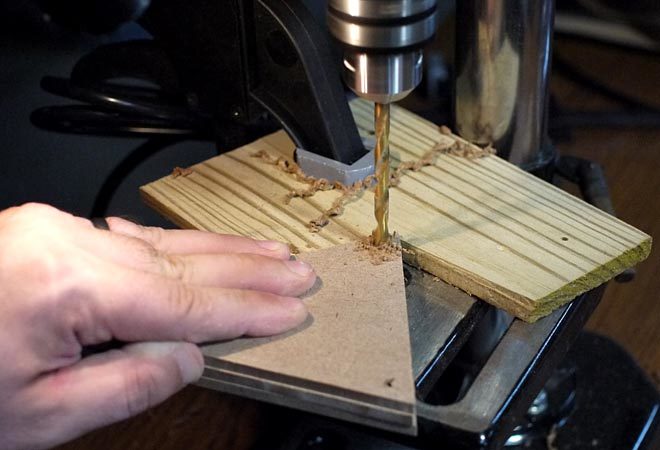
If you don’t have a drill press, don’t fret. Measure and mark your hole locations and then drill them out with a hand drill. Take your time and make sure you don’t get too close to the edge.
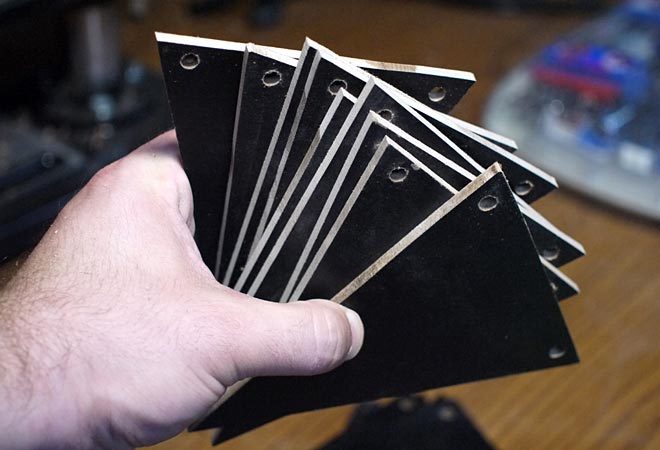
I chose to use a large drill bit so that Karly could choose heavier twine or even a ribbon for hanging these if she wanted. Drill whichever size hole works for you and your materials.
So for less than $10, I just made all the flags for a great chalkboard banner. It only took me about 45 minutes the first time around. After I was used to cutting, sanding, and drilling these chalkboard panels, my second set only took half an hour!
So what’s left to do but…
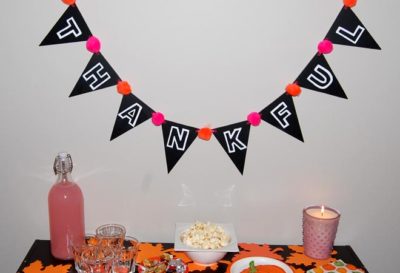
Decorate it!
Want to see how to go about stringing, hanging, and decorating the chalkboard banner?
Go check out the full tutorial at KPApreps: DIY Chalkboard Banner!