
Do you have carpeted floors that make noise when you walk on them? Do you wish you could walk around without waking the baby? I’m going to show you how I tackled that annoying floor squeak in my house.
Why do floors make noise?
Our house was built in the ’70s and it’s falling apart! Nail pops all over our walls and ceilings are so ugly, but the really annoying part is the floors squeak like crazy. Many newer homes are built almost entirely with screws – but for the rest of us, it’s noise with every step.
The problem is that the wood expands and contracts with the seasons. It’s not much, but it’s enough to push the nail slightly out of the joists under the floor boards. This in turn lets the floor boards move up and down on the nail. And there’s your squeak.
How to fix a squeaky floor…
 The right way to fix this is to pull up the carpet and padding, screw down the floor boards to the joists so they’ll never move again, and reinstall the padding and carpet. But that isn’t easy and it’s certainly not something the average homeowner wants to attempt.
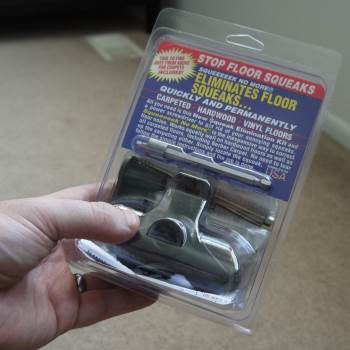
Instead of moving all my furniture and risking having to pay a carpet installer to fix my mistakes, I bought this Squeeeeek No More kit to fix the problem without ever removing the carpet. It was really simple to use, did no damage to my carpet, and stopped a lot of my floor squeaks!
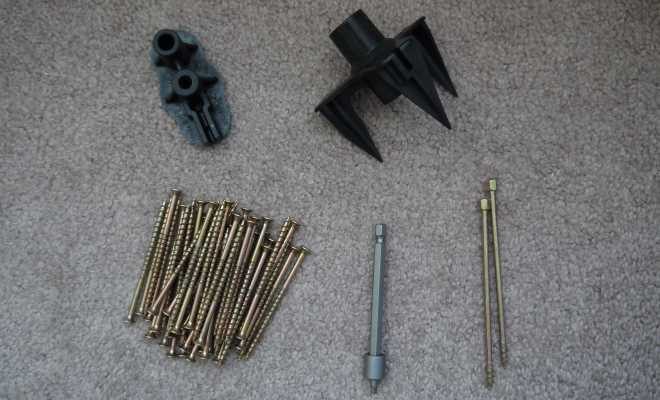
Here’s what came in the kit: two alignment tools, a drive bit, joist-finder screws, and a bunch of scored screws.
Step 1: Find the Floor Joists
I figured out the direction the floor joists were running by looking at the way my house was built. There’s a bearing wall running side to side in the middle of our house. So the joists run perpendicular to that. I found a very noisy spot on the floor and used my hammer to get a good starting point.
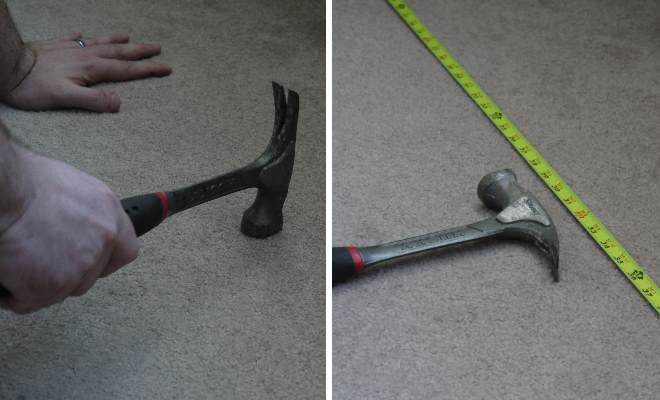
I hit the floor with the hammer and listened for the pitch to change. You should be able to figure out what’s a hollow spot and what’s a solid sounding spot. The solid spots are probably where the joists are located.
I marked my starting spot with the hammer and ran my measuring tape across the floor. I aligned the 16 inch increments with the hammer. They are usually in red on the tape. Floor joists are typically 16 inches on center so this means once I find the first joist, I won’t have to search for any more.
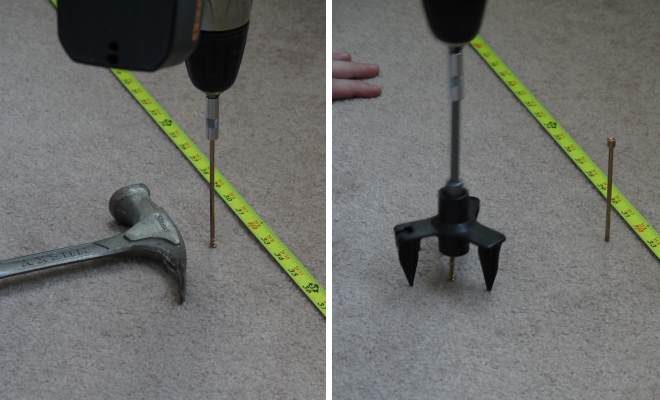
Lastly, to make sure I was right about the location of the joist, I checked with the special screws that came in the kit. The screws have threads at the very tip, but are smooth the rest of the way up the shank. This is so that when you screw through the floor board, the screw will only continue to drive down if the tip is in the joist. Otherwise it will spin in air – letting you know you missed.
Step 2: Screw Down the Floor
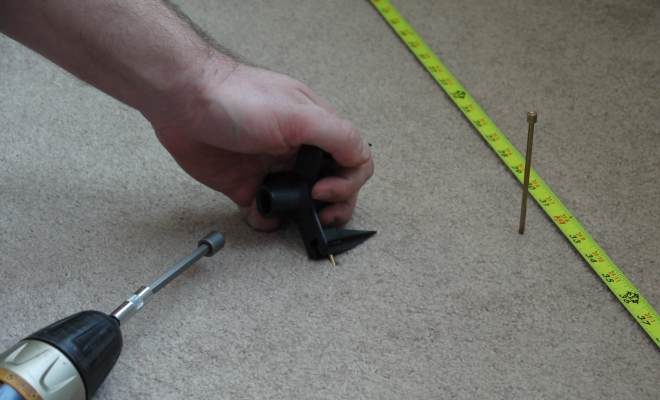
With my floor joist locations identified, I moved ahead with stopping the terrible floor squeak. I made sure to secure my tape measure so that I could easily find the next joists to the left and right of my starting point. Then I used the drive bit and the alignment tool for carpet to drive the screws into the floor.
Step 3: Remove the Head of the Screws
Since the special drive bit and alignment tool work together to stop the screw at the perfect depth in the wood, I could snap the screw heads off and leave no trace of my work. The alignment tool has a slot in the side that I used to grab the head of the screw and snap it off by tilting side to side.
The screws are scored just above the threads and snap off just below the top of the wood surface. So once removed, the floor is held down tight and the carpet is safe to walk on with bare feet.

To make things go faster, I decided to drive all the screws into the squeaky spots first and then come back and snap the heads off at once. This also made it easier to visualize the joist under the floor so I didn’t have to worry about missing one with the next screw.
All Done!
That was it. It went pretty quick and when I was done, the floor was much quieter. I’m very happy with this Squeeeeek No More kit and I’ll be using it around the house whenever I notice another floor squeak.